Creating a contact form in PHP using Dreamweaver This is a tutorial that will help you to create a contact form in PHP using Dreamweaver in a few minutes. Once the form has been created, you will be able to capture important contact information and create a database of your potential customers, which is extremely important in a competitive business environment. Following this Dreamweaver PHP Contact Form Tutorial, you will have a ready to use Contact Form. IMP: Download this PHP ZIP file and save the Dreamweaver document in your website’s root directory. The name of the file to be saved is formtoemail.php. Let’s get started now! Step#1: Open Dreamweaver (I have used Dreamweaver
8 but any version can be used)
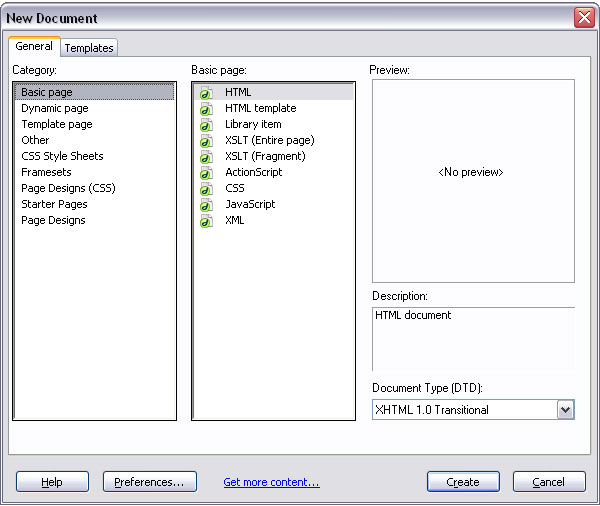
Step#2: Choose HTML and click Create. The new HTML document page will look like this. There are three viewing options in Dreamweaver: code view, split view, and design view. I have used the split view Step#3: At the top of the document, you will find the toolbar. Where it is written title, you need to enter Contact Form, which will be the title of your current document.
Step#4: Go to File > Save. This document will be saved at your local website folder. Save it as ContactForm.htm. Step#5: Now, we need to insert a contact form. Select
Insert > Form
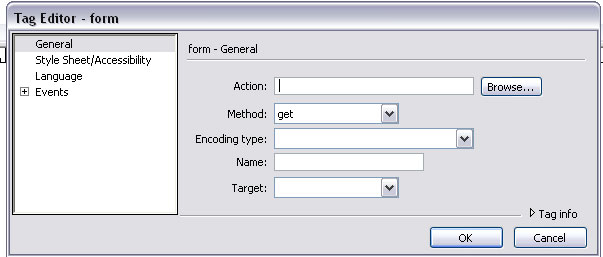
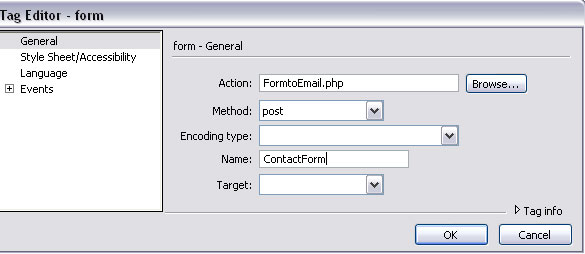
At the top is the text box for Action. Here you need to write FormtoEmail.php
The Tag Editor – Form will now look like this
Click OK. Your Dreamweaver page will look like:
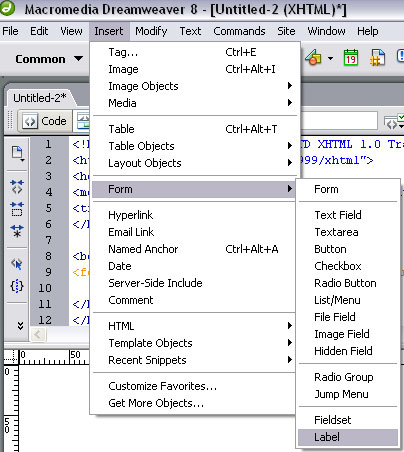
Step#6: Now you will need to place specific form objects into the Dreamweaver/Website page. This is the information that you would want to collect from those who fill up the form or your website visitors. What I have really done is keep it as simple as possible. So I have used three elements: In order to do this, you need to click inside your form’s object and then select Insert > form > label.
Once you have selected label, the code on the Dreamweaver page will show: <body> Click between the label tags and type Name:.
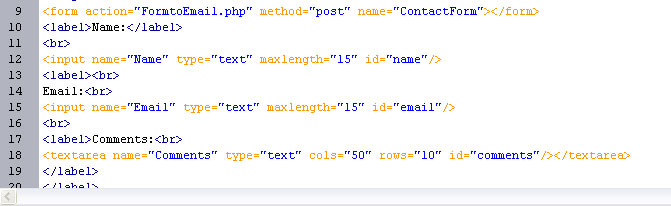
Step#7: Repeat the above step and add another label for email and then follow it up with a text field for email. Step#8: Add another label for “comments”
followed by the text field. In the text field, put 50 in the Value field
and 10 in the maximum length. The code will look like this:
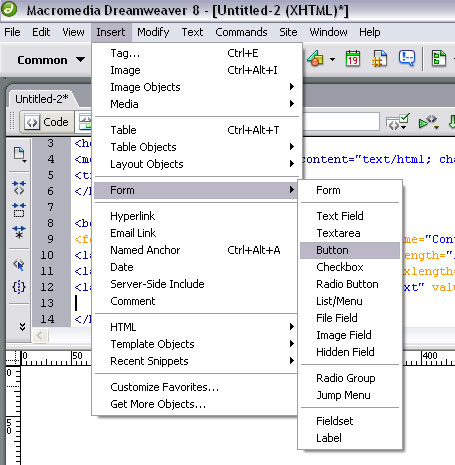
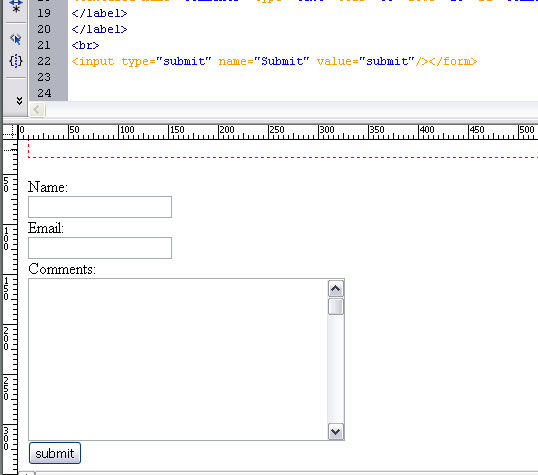
Step#9: Now we will add a button. Select Insert > Form > Button.
Your Form will look like this:
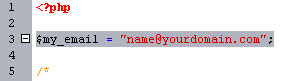
Step#10: Now Open the “FormToEmail .php“ file in Dreamweaver. You will need to edit the following line:
Just add you email address or the official mail address here and save it. Now you have a perfect and working contact form in PHP!!
|