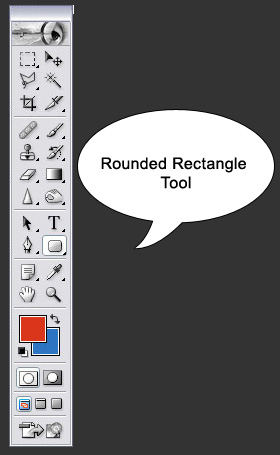
Creating Rollovers There are several ways to create rollovers and you can do it through Photoshop-Imageready, you can add Java script code to your website, and you can do it with the help of CSS. Java Script rollovers are mostly used for images. So let us start with creating a rollover button in Photoshop. I have used Photoshop 7 for this but you can do it in Photoshop 5 or even CS3. Step#1: Open Photoshop and create a new document of 250x150 pixels Step#2: Depending on the shape you desire, you can use the rounded rectangular or the rectangular tool from the Photoshop Toolbar.
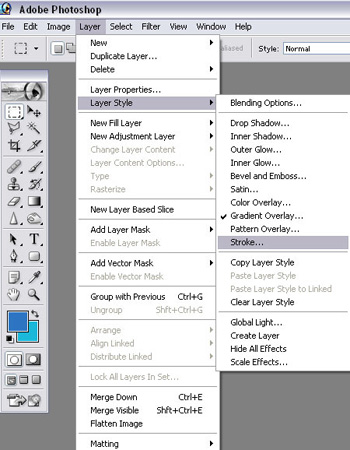
Step#3: Make a new layer and using the rounded rectangle tool, draw a rectangle. I used the color #2D75C2 to fill the rectangle. You can use any color you want. Step#4: Select Layer>Layer Style>Blending Options>Stroke
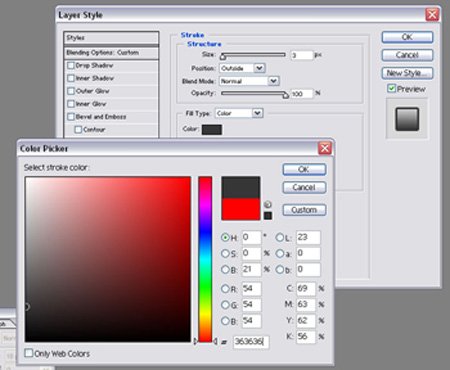
Step#5: Select Stroke color #363636.
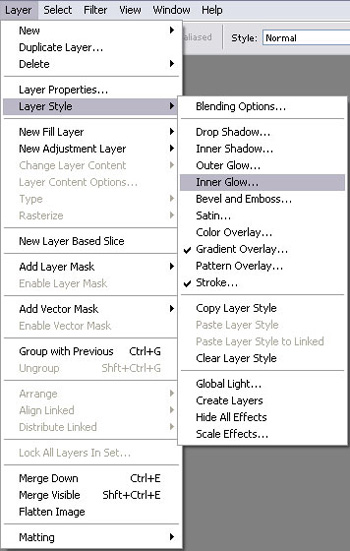
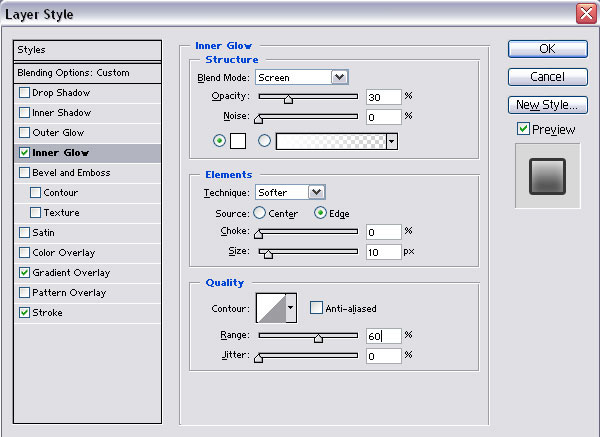
Step#6: Select Layer>Layer Style>Blending Options>Inner Glow
Step#7: Keep blend mode as Screen. Opacity = 30%. Follow the image below.
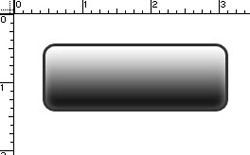
You will get the following image
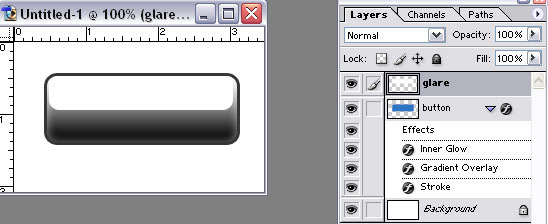
Step#8: Choose the Rounded rectangle tool again and on a new layer, create a rectangle on the top part of the existing rectangle. The color of the new rectangle is white (#FFFFFF). It will now look like this:
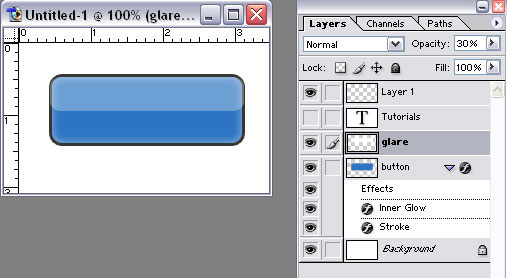
Step#9: Now reduce the opacity of the glare to 30%
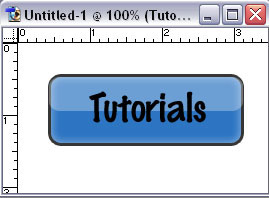
Step#10: Using the Text Tool, write tutorials. I have used Markerfelt; point=36
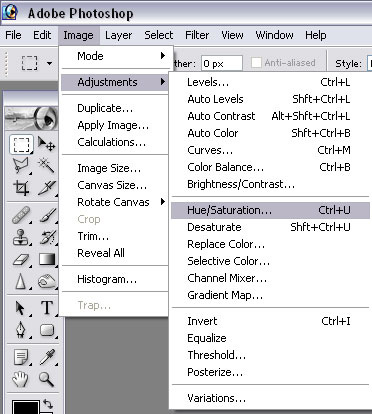
Step#11: In order to change this color to a new color, select the button layer. Go to image>Adjustments>Hue/Saturation
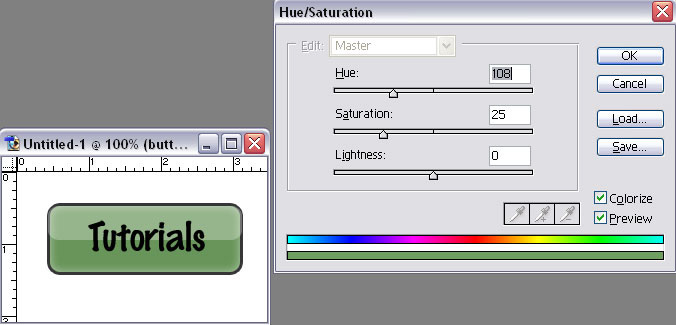
Step#12: When the box opens, click on colorize. You can now experiment with as many colors as you want by moving the gliders for Hue, Saturation, and Lightness. This is what I chose:
Step#13: Now the normal button color and the rollover button color will be:
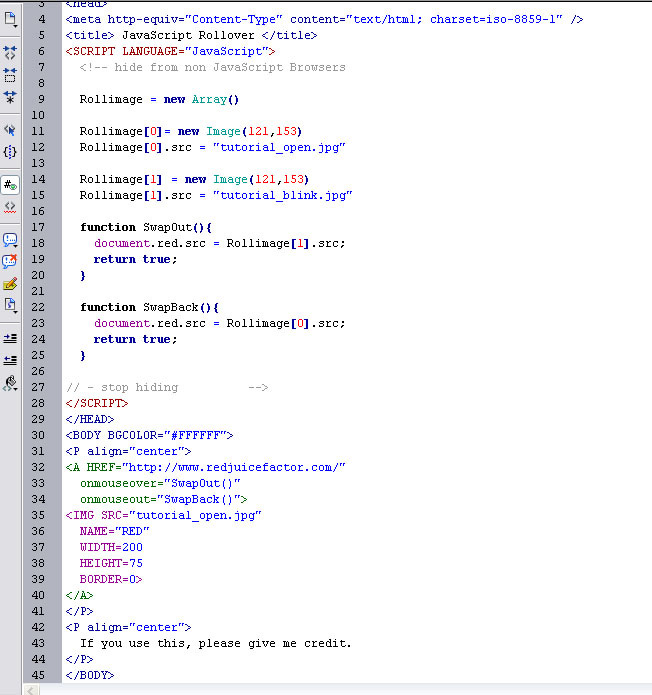
Step#14: Now all you have to do is insert the following Javascript code for rollover into your HTML document in Dreamweaver.
|